Step-by-Step Guide to DIY 3D Animation for Beginners


Introduction to DIY 3D Animation
Creating a 3D animation can seem like a daunting task, especially for beginners. However, with the right guidance and tools, anyone can start making their own animations from scratch. This step-by-step guide will walk you through the essential processes and techniques needed to bring your 3D creations to life.
3D animation has become an integral part of various industries, from films and video games to architectural visualization and educational content. Understanding the basics not only opens up creative possibilities but also enhances your technical skills.

Understanding the Basics
Before diving into software and tools, it's crucial to understand the fundamental concepts of 3D animation. Here are some key components:
- Modeling: Creating the 3D objects that you will animate.
- Texturing: Applying colors, patterns, and images to the models.
- Rigging: Building a skeletal structure for your models to allow movement.
- Animation: Bringing the models to life by defining their movements over time.
Familiarizing yourself with these components will give you a clearer picture of what lies ahead in your animation journey.
Choosing the Right Software
Selecting the appropriate software is vital for beginners. While there are numerous options available, some are particularly user-friendly for those just starting out. Consider trying:
- Blender: A free and open-source software that offers a comprehensive suite of tools for 3D modeling, texturing, rigging, and animation.
- Tinkercad: Ideal for beginners, this online tool is perfect for simple 3D modeling projects.
- Maya: A more advanced option used by professionals, offering extensive features for those ready to invest time in learning.
Each software has its own strengths, so explore them to find the one that best suits your needs and skill level.

Getting Started with Modeling
The first step in creating a 3D animation is modeling, where you build the characters and objects for your scene. Here's a basic approach to modeling:
- Sketch Your Idea: Begin with a simple sketch of what you want to create. This helps in visualizing the model and planning its structure.
- Create Basic Shapes: Use your chosen software to form basic shapes like cubes, spheres, or cylinders that will make up your model.
- Refine Details: Gradually refine these shapes into more detailed forms by adjusting vertices, edges, and faces.
This process requires patience and practice, but with time, your skills will improve significantly.
The Art of Texturing
Texturing is where your model starts to gain personality. By applying textures, you add color and detail that bring your model to life. Here's how you can proceed:
- Select Textures: Choose appropriate textures that match the appearance you're aiming for.
- UV Mapping: Unwrap your model's surface so that textures can be applied accurately.
- Apply Textures: Use your software's texturing tools to place textures on your model.
This step is crucial for creating realistic or stylistically unique animations, so take your time to experiment with different textures and effects.

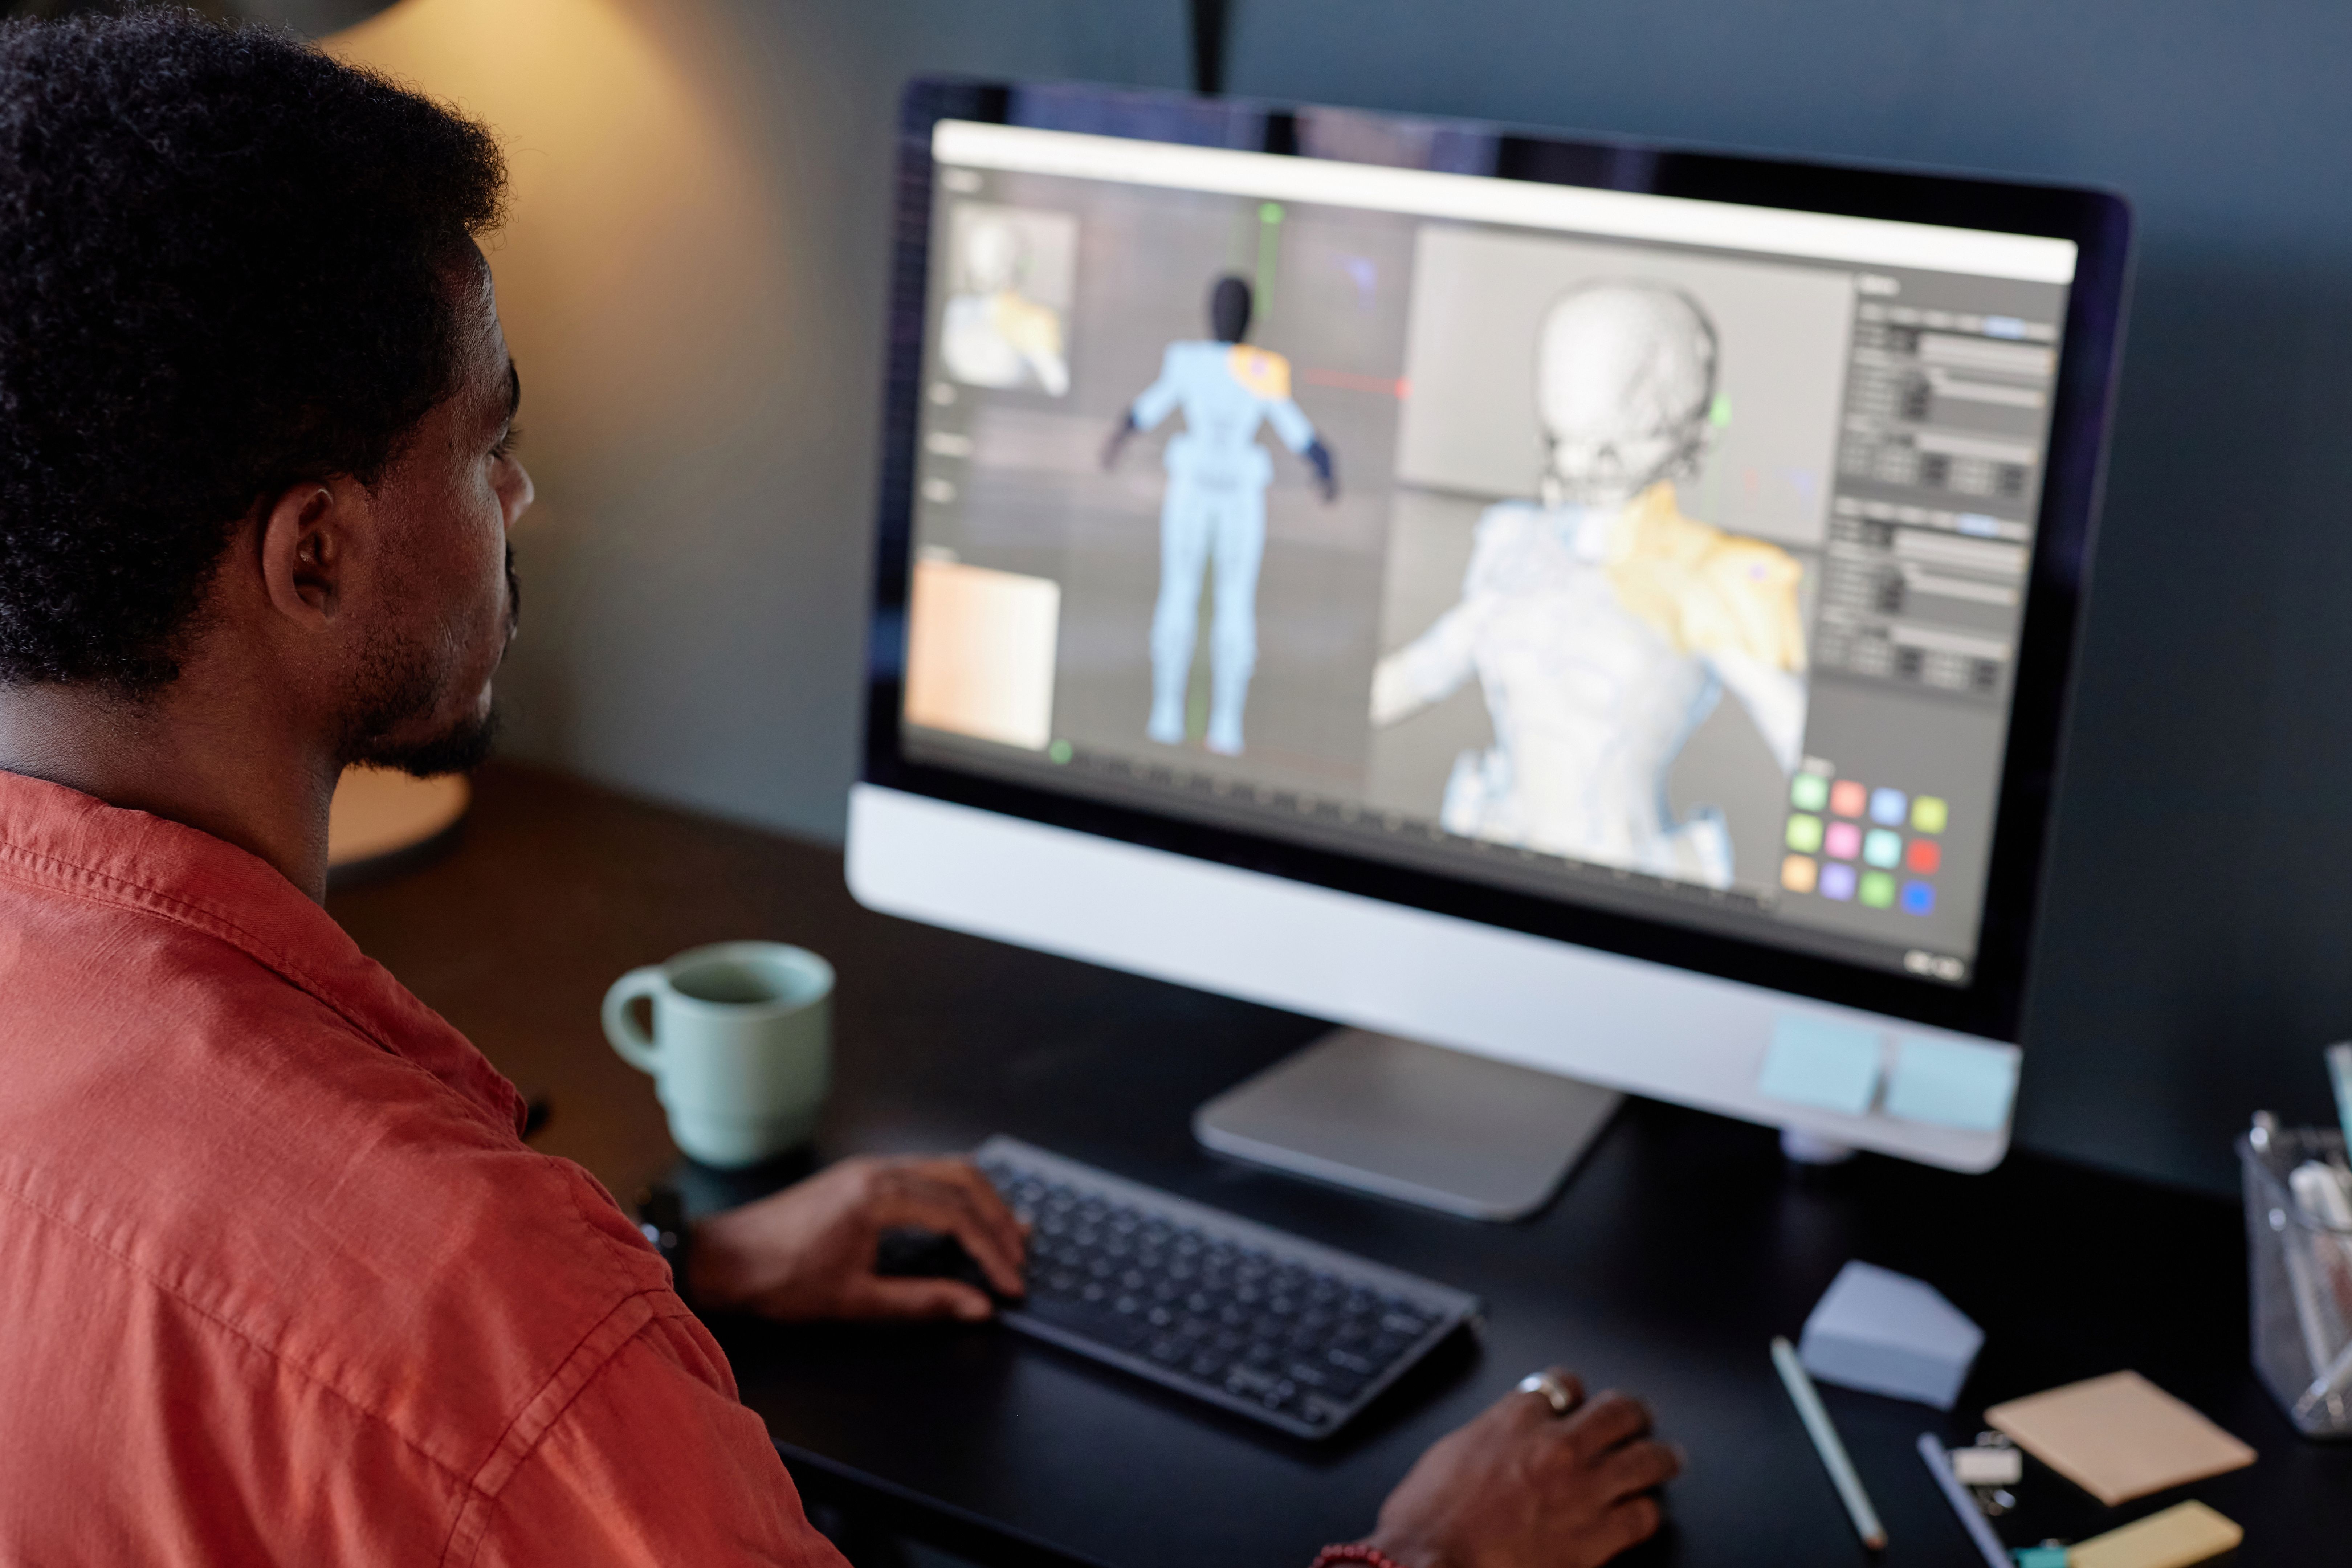
Rigging Your Models
Rigging involves creating a skeleton for your model to define how it will move. This step is essential for animating characters or any object requiring movement. Follow these steps:
- Create Bones: Add bones inside your model corresponding to its joints or segments.
- Set Constraints: Define how each bone can move or rotate relative to others.
- Bind Skin: Attach the model's mesh to the bones so it deforms naturally when animated.
A well-rigged model will make the animation process much smoother and more intuitive.
The Animation Process
Once your model is rigged, it's time to animate! Start by establishing keyframes at pivotal points in your animation sequence. These keyframes indicate where significant changes occur in your model's position or posture over time.
Next, use interpolation tools in your software to fill in the motion between keyframes smoothly. This step transforms static poses into dynamic movement.
Rendering Your Animation
The final step is rendering, which involves generating the final output of your animation by processing all frames into a coherent video. During rendering, pay attention to details such as lighting and camera angles to enhance the visual appeal of your animation.
This stage may take some time depending on the complexity of your project and the power of your computer. However, a well-rendered animation can be incredibly rewarding, showcasing all the hard work you've put into learning and creating.
Conclusion
Diving into DIY 3D animation as a beginner can be an exciting and fulfilling journey. By following these steps and continuously practicing, you'll develop a strong foundation in 3D animation that can lead to increasingly complex projects. Remember that perseverance is key; every expert was once a beginner who didn't give up. Happy animating!